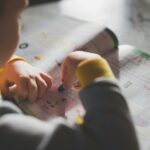

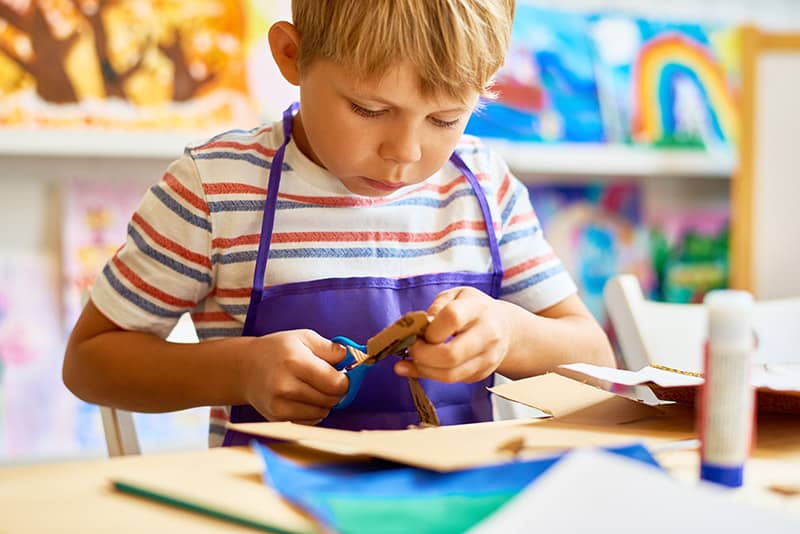
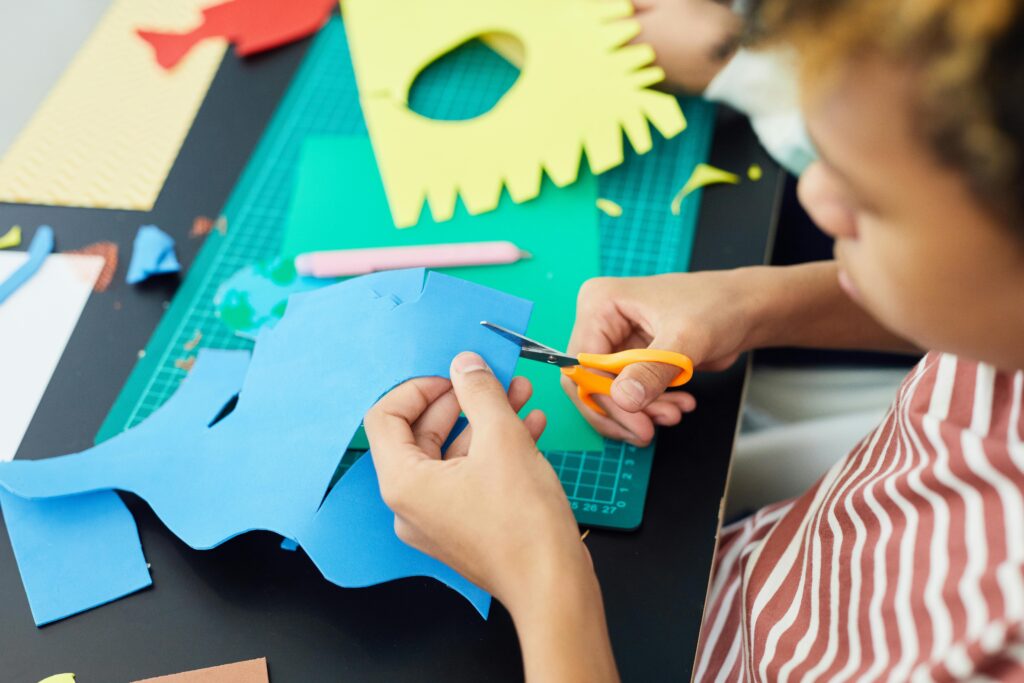
Sometimes the best toys are the ones we make ourselves. They cost almost nothing, we already have the parts at home, and the time we spend building them becomes a sweet memory for our children. In this post I share twenty easy toys that I have made with my own child. You do not need any special tools. Scissors, glue, tape, and a little patience are enough for most of them. Feel free to skip around the list and choose the ideas that fit your child’s age and mood.
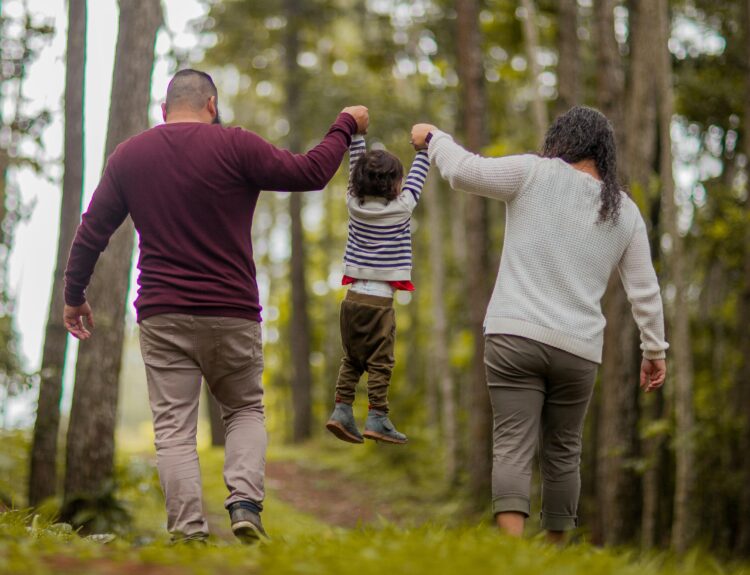
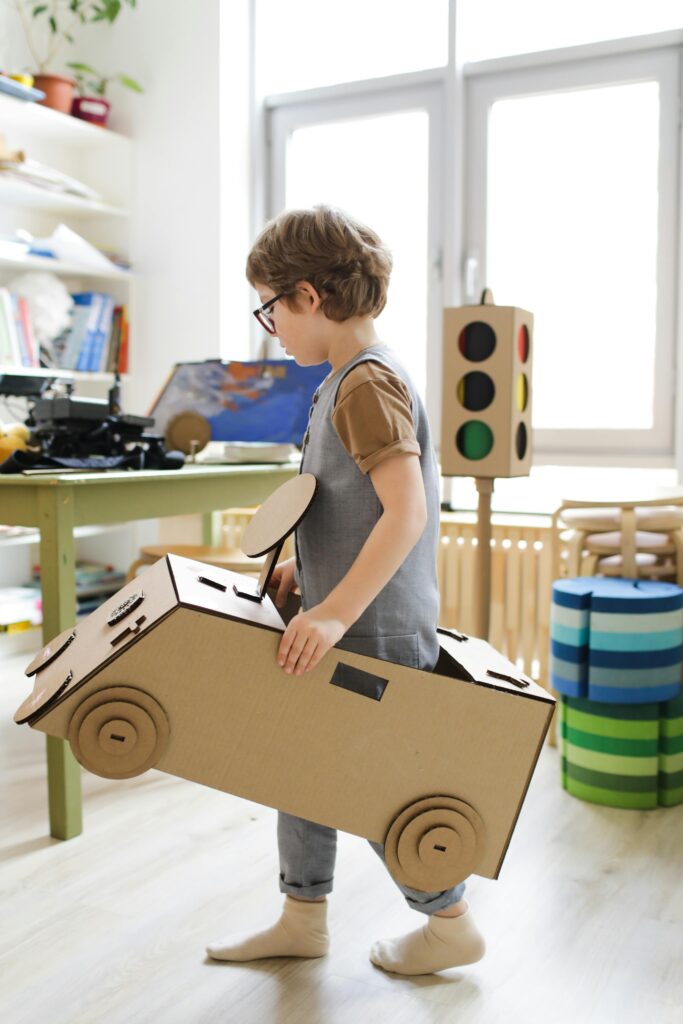
Before we dive into the list I want to share a short moment from my own living room. Last month a rainy Sunday trapped us indoors. My son and I opened a delivery box, cut a door in it, and spent the next two hours decorating the walls with crayons. He still calls it “Castle Sunday.” That tiny castle cost nothing but gave us a memory warmer than sunshine. Small scraps can hold big joy. Keep that picture in mind as you read.
Why I love homemade toys
- Cheap. Most of these toys are made from empty boxes, bottles, or old clothes.
- Earth-friendly. We reuse things instead of throwing them away.
- Learning. Kids work on fine motor skills, counting, balance, and even little science lessons.
- Together time. Making a toy side by side is as much fun as playing with it later.
Take a deep breath, open your craft drawer (or kitchen junk drawer), and let us start.
1. Sparkle Calm Bottle
You will need: a clear plastic bottle, warm water, a spoonful of glitter, a squirt of clear dish soap, and super-glue.
Fill the bottle three-quarters with warm water. Add glitter and dish soap. Put the cap on tightly. Glue the cap if your child is young. When your child shakes the bottle the glitter drifts like snow in a globe and helps them relax.
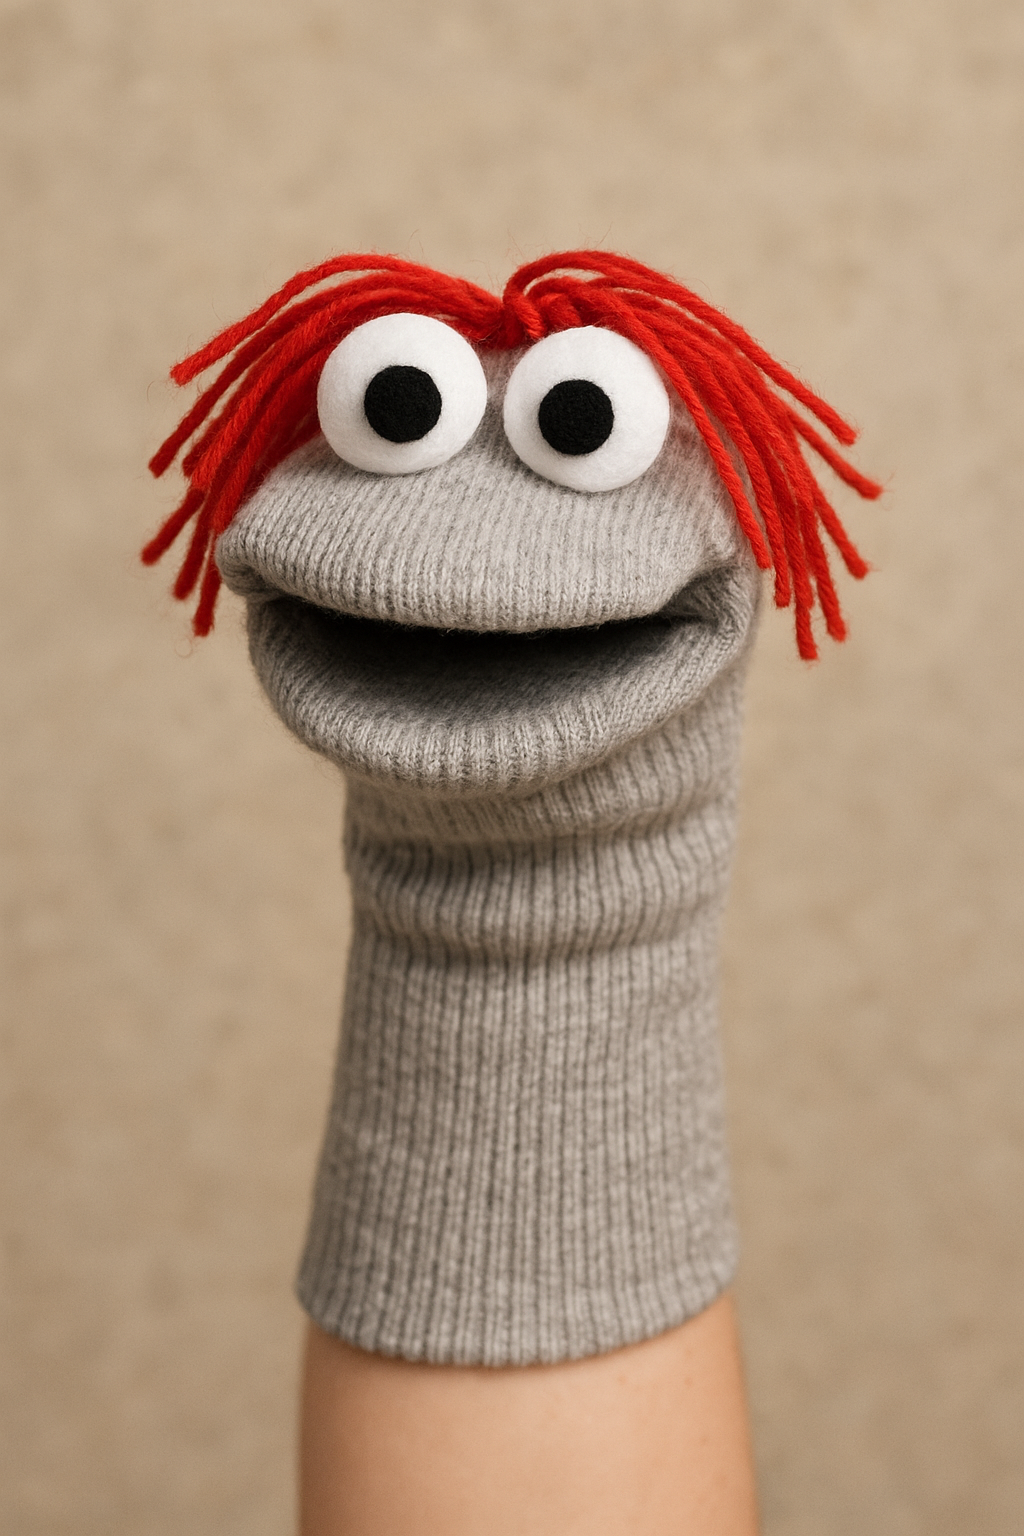
2. Sock Puppet Friend
You will need: one lonely sock, two buttons, a felt scrap for the mouth, glue, and a bit of yarn.
Glue or sew the buttons for eyes and the felt for a mouth. Tie or glue yarn on top for hair. Slip the puppet on your hand and make up silly stories.
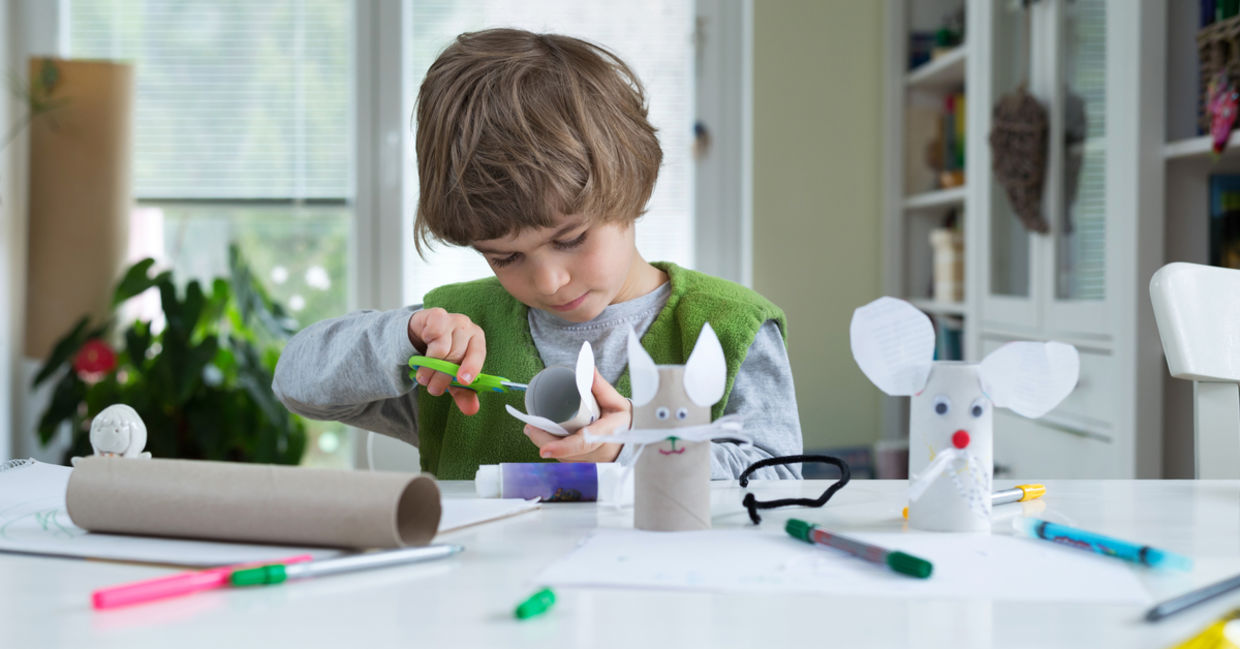
3. Big Box Playhouse
You will need: one large cardboard box, scissors, markers, and tape.
Cut out a door and a few windows. Let your child draw flowers, signs, or stars on the walls. A plain shipping box can turn into a café, a rocket, or a secret reading nook in minutes.
4. Paper Tube Marble Run
You will need: empty toilet-paper tubes, painters’ tape, marbles, and a piece of cardboard or a blank wall.
Tape tubes at different angles so that marbles race from the top to the bottom. Adjust the slopes together until the run is smooth.
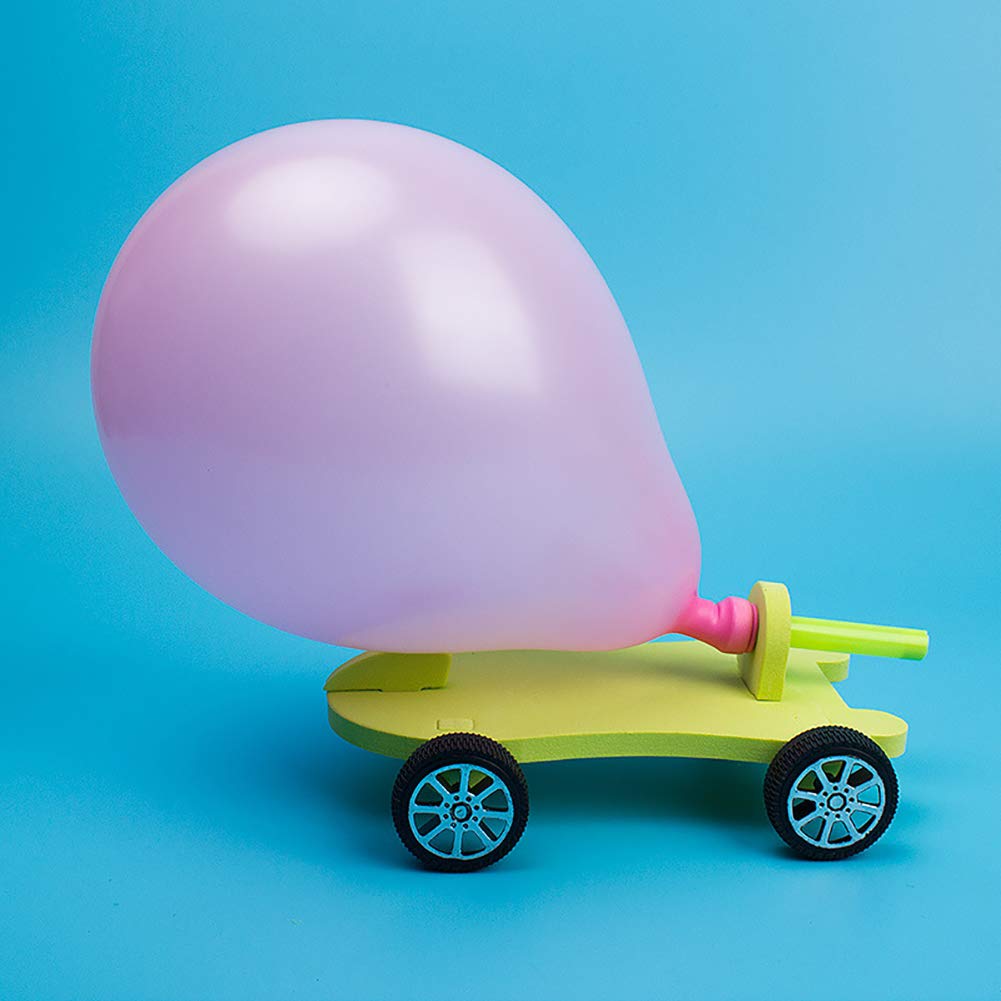
5. Balloon Car
You will need: a small juice box, four bottle caps, two skewers, a straw, tape, and a balloon.
Push the skewers through the box as axles, glue caps as wheels, tape a straw on top, and slide a balloon over one end of the straw. Blow up the balloon and let go. The air rushes out and the car zooms forward.
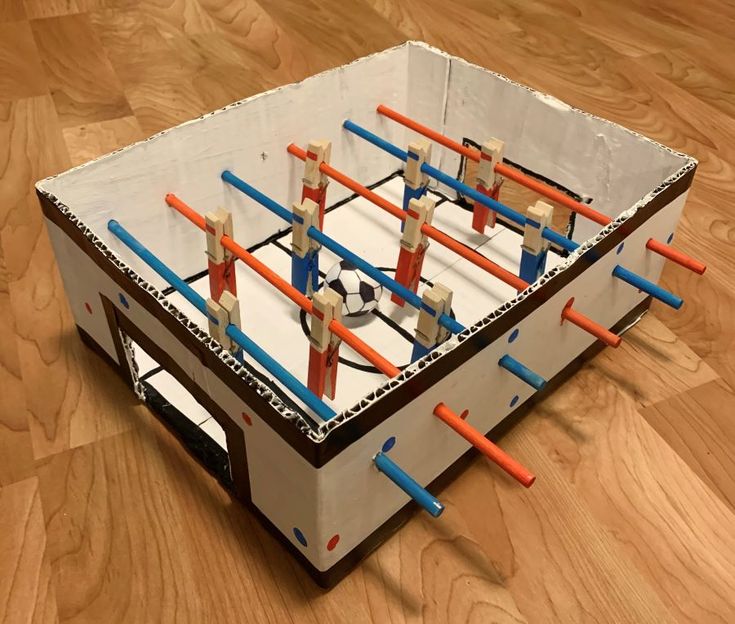
6. Tabletop Foosball
You will need: a shoebox, four chopsticks, eight clothespins, and a ping-pong ball.
Cut two goal holes in the short ends of the box. Poke four holes through each long side for the chopsticks. Clip clothespins to the sticks as players. Spin the sticks to kick the ball.
7. Soft Homemade Playdough
You will need: 1 cup flour, ½ cup salt, ¾ cup hot water, 1 tablespoon oil, food colouring.
Stir flour and salt, add oil, mix in coloured water, and knead until smooth. Store in a jar. This dough stays soft for weeks.
8. Bottle Bowling
You will need: ten plastic bottles, a small rubber ball, and water or sand.
Put a little water or sand into each bottle for weight, line them up like bowling pins, and roll the ball. Keep score if your child likes numbers.
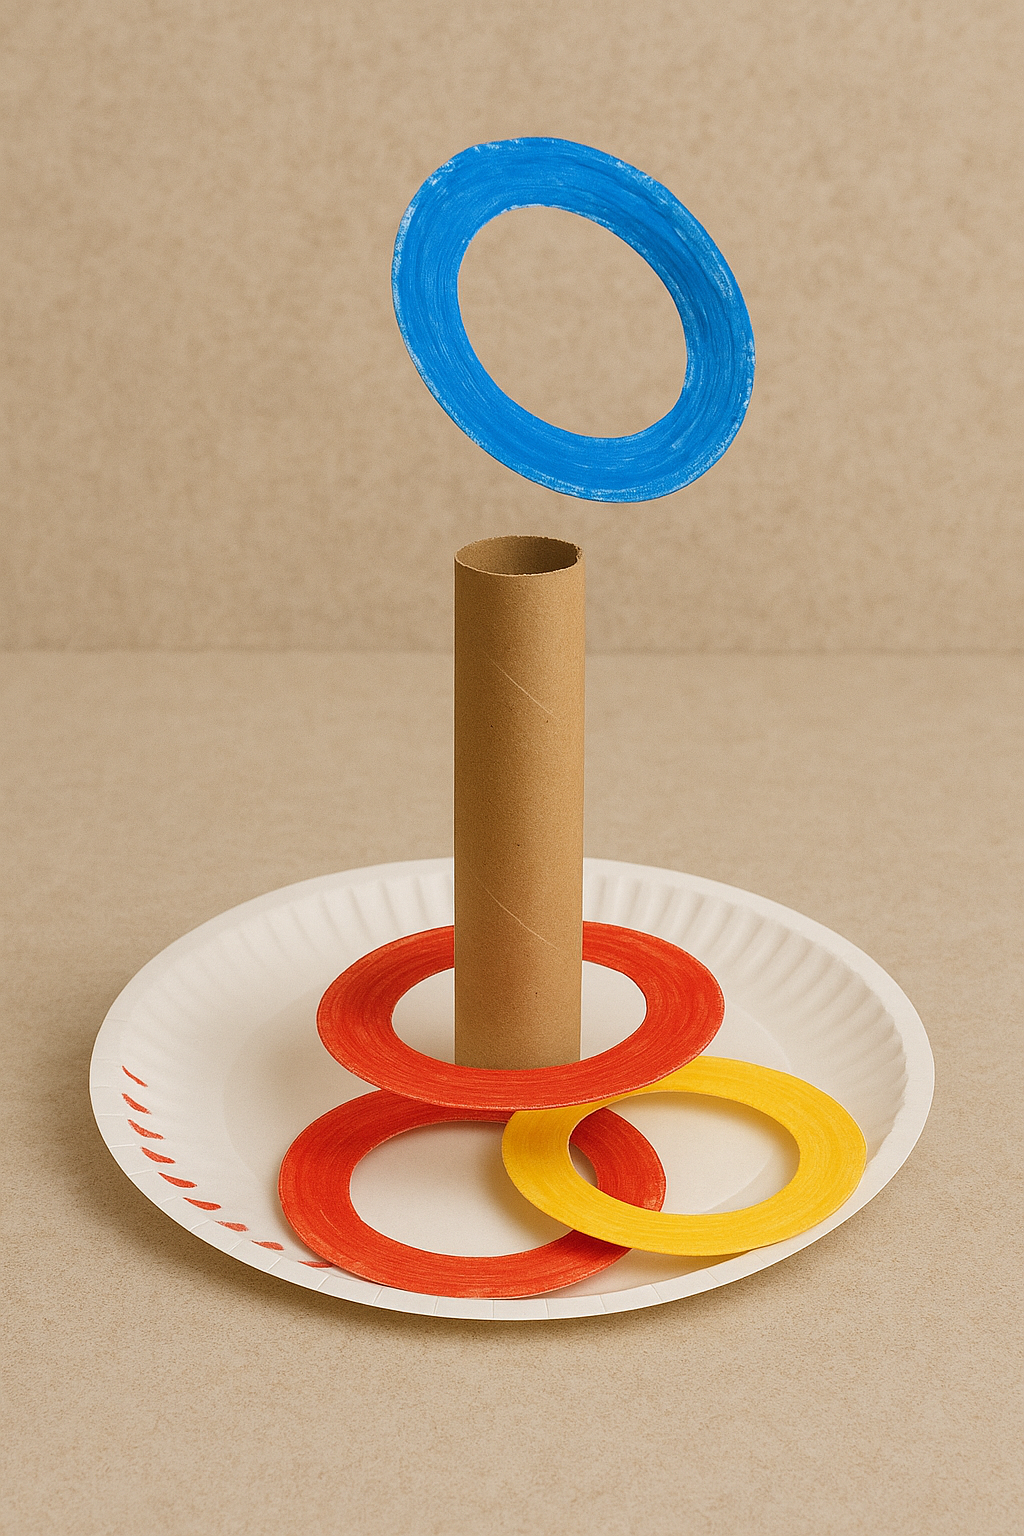
9. Paper Plate Ring Toss
You will need: six paper plates and a paper-towel tube.
Cut the center out of each plate to make rings. Push the tube into a lump of modelling clay or stand it in a cup. Toss the rings and cheer when they land.
10. T-Shirt Jump Rope
You will need: three old T-shirts and scissors.
Cut the shirts into long strips, stretch them, braid three thick strands together, and knot the ends. Jump inside or out. If the rope drags, trim it shorter.
11. Tin Can Stilts
You will need: two empty food cans, a hammer, a nail, and two long pieces of rope.
Hammer a hole on each side near the top of every can. Thread rope through and tie knots. Your child stands on the cans, holds the ropes, and walks like a tall clown.
12. Nature Brushes
You will need: small sticks, leaves or grass, and rubber bands.
Wrap leaves around one end of each stick, secure with a rubber band, dip in paint, and stamp patterns on paper.

13. Popsicle Stick Catapult
You will need: eight craft sticks, five rubber bands, a plastic spoon, and pompoms.
Stack six sticks, band both ends. Place one stick under the stack and another on top to form a plus shape, band them together, and attach the spoon to the top stick. Press down and launch pompoms.
14. Lavender Bean Bags
You will need: scrap fabric or old socks, dry rice, and dried lavender or a drop of lavender oil.
Fill the fabric with rice and lavender, sew or glue shut. Heat for ten seconds in the microwave or chill in the freezer. Your child can squeeze or toss them.
15. Felt Quiet Book
You will need: coloured felt sheets, scissors, glue, and ribbon.
Cut simple shapes—circles, squares, letters—and glue them to make pages. Punch holes on one edge and tie with ribbon. Good for car rides or waiting rooms.
16. Water Bottle Xylophone
You will need: six glass bottles, water, food dye, and a wooden spoon.
Fill each bottle with a different amount of water, add a drop of dye for colour, and gently tap with the spoon. Each bottle makes a different note.
17. Egg Carton Treasure Chest
You will need: an empty egg carton, paint, stickers, and small “treasures” like buttons or beads.
Paint and decorate the carton, then hide treasures in each cup. Toddlers love opening and closing the lid.
18. Magnetic Fishing Game
You will need: a wooden dowel, string, a small magnet, paper clips, and coloured paper.
Cut fish shapes, draw eyes, clip a paper clip to each fish, tie the magnet to the string, and fish on the living-room rug.
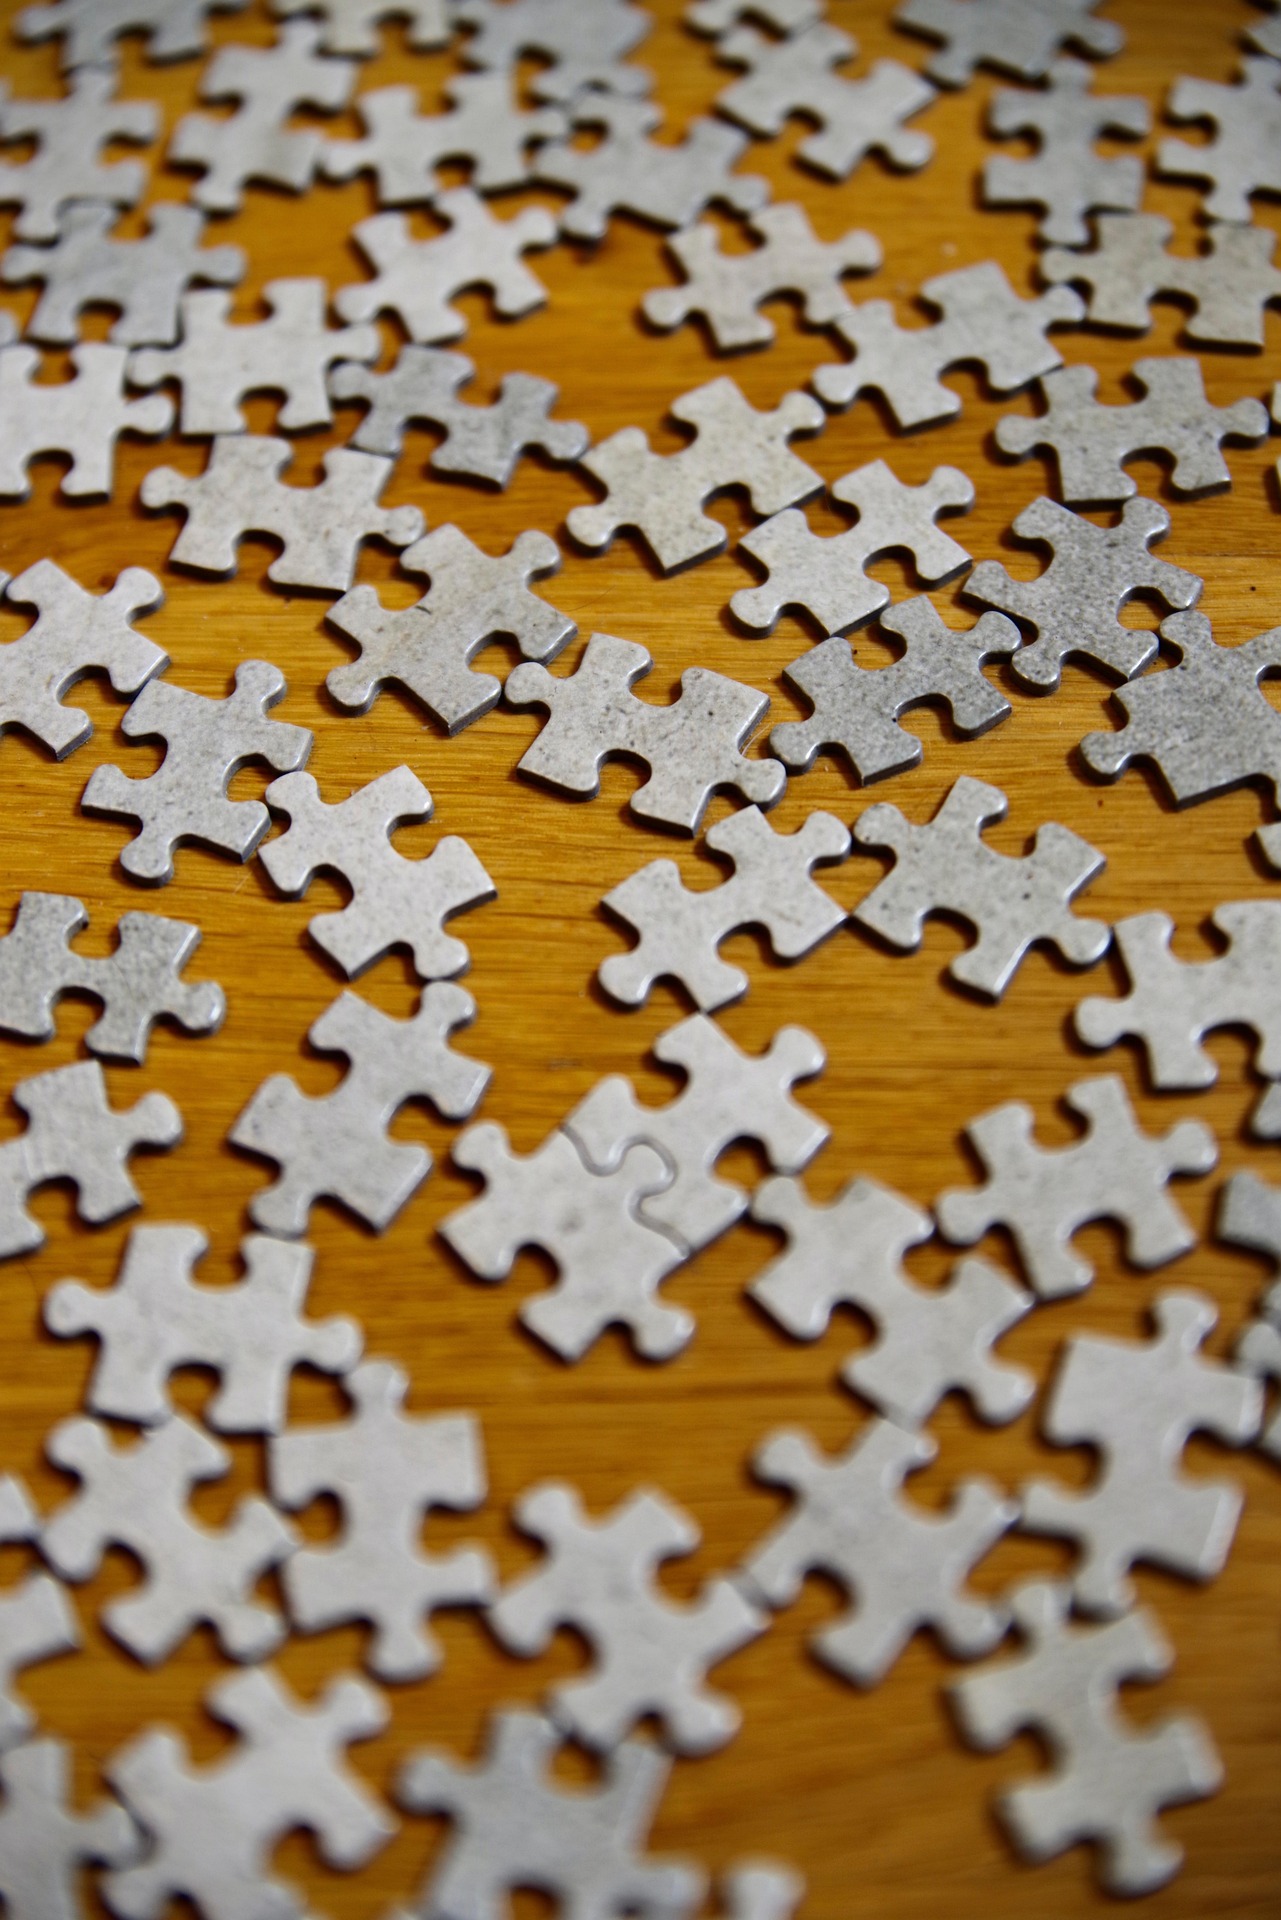
19. Cardboard Puzzle
You will need: the front of a cereal box, pencil, and scissors.
Draw big puzzle pieces on the picture side, cut them out, mix them up, and re-assemble. For a harder puzzle cut more pieces.
20. Rainbow Rice Bin
You will need: uncooked rice, zip-top bags, food colouring, vinegar, a plastic bin, and spoons.
Pour one cup of rice into a bag, add a few drops of colour and a teaspoon of vinegar, shake, and spread to dry. Repeat with other colours. Pour the dry rice into a bin and hand over cups, funnels, or toy animals.
Extra ways to enjoy your homemade toys
- Photo Day. Take pictures of each toy and keep them in a little album. Kids love looking back at their work.
- Toy Swap. Trade homemade toys with friends or cousins. It feels like a party and sparks new ideas.
- Repair Time. When a cardboard toy breaks, fix it together with tape or glue. Children learn that things can be mended, not just thrown away.
Simple safety notes
Watch small children while they play.
Glue lids and small parts firmly.
Sand sharp edges on cans or wood.
Keep paint and glue out of mouths.
Frequently Asked Questions
Q: Are these toys safe for toddlers?
Most can be made toddler-safe. Skip small marbles and magnets, glue bottle caps, and stay close while they play.
Q: How long does homemade playdough last?
If you store it in a sealed jar it can stay soft for up to a month. If it dries out, knead a teaspoon of water into it.
Q: My child is six. Which toy is best to start with?
Try the balloon car or the catapult. Kids this age enjoy things that move and fly.
Q: Can I use gluten-free flour for playdough?
Yes, rice flour or cornflour will also work. The texture is a bit different but still fun.
Q: How do I clean glitter off the floor?
Use a piece of sticky tape like a mini lint roller. It lifts glitter without spreading it around.
Thank you for taking the time to read this guide. I hope that each idea feels clear and doable. Do not worry about perfection; children care more about the game than the finish. If a wheel wobbles or a window is crooked, laugh and fix it together. The heart of DIY is the journey, not the polish. Now turn off the screen, roll up your sleeves, and let the play begin.
Happy crafting!