
Simple, Practical Tips That Truly Work in a Real Life Home
As a busy mom, life can feel like a never-ending race—especially when you’re trying to cook three meals a day, keep your house clean, care for your kids, and maybe even get a little time for yourself. Having a small kitchen makes things even more challenging.
When space is tight, it’s easy to feel overwhelmed, especially during busy mornings or when guests show up unannounced. But after trial and error, I’ve found smart, realistic ways to keep my tiny kitchen clean, functional, and even a little pretty.
So, if you’re a mom like me—managing a home and juggling 100 things every day—this post is for you. Here’s exactly how I organize my small kitchen to save time, stay sane, and make everyday cooking less stressful.

1. Declutter Ruthlessly – Start with a Fresh Canvas
I used to keep everything—old containers, broken gadgets, and ten-year-old spices. But a small kitchen forces you to get real about what you actually use. Every 2–3 months, I set aside one afternoon just for decluttering.
What I let go of:
- Duplicates: Three potato mashers? Gone.
- Expired items: You’d be surprised how many half-used sauces expire without notice.
- Appliances I never used: That sandwich maker that only collected dust—donated.
Mom Hack: Keep a donation box in the kitchen cupboard. Whenever I find something I don’t use, I drop it in there right away.
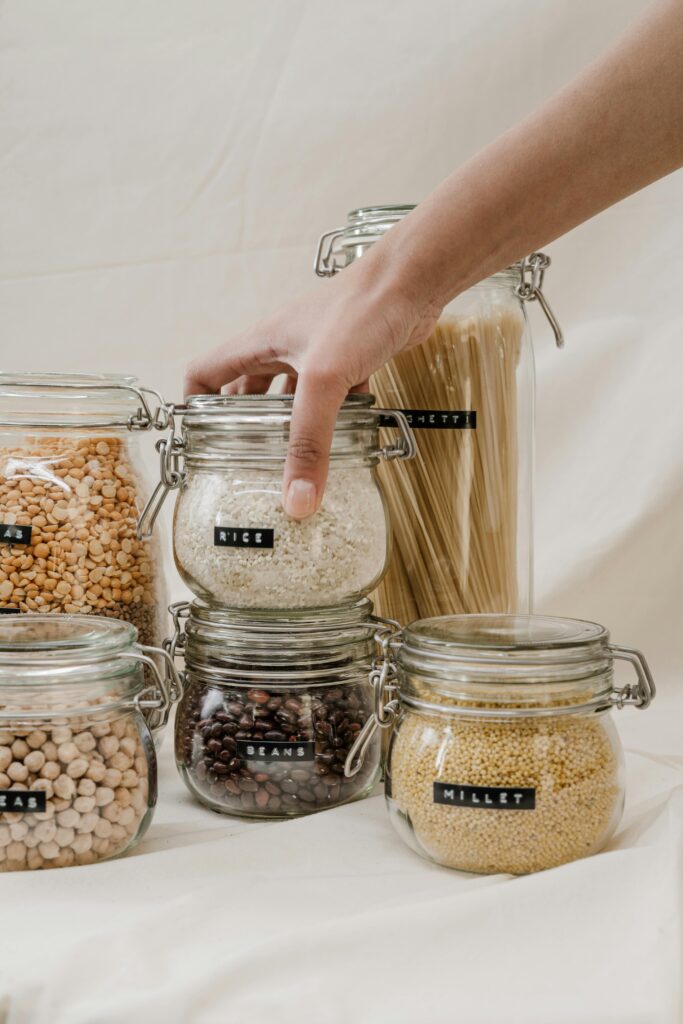
2. Switch to Clear, Airtight Containers
Once I cleared out the clutter, I replaced mismatched jars and plastic packets with clear, labeled containers. Now my shelves look uniform and beautiful—and I can see what’s running low.
I store rice, lentils, flour, snacks, spices, and even dry fruits in containers with labels like:
1. Basmati Rice
2. Moong Dal
3. Wheat Flour
4. Kids’ Snacks
Why it works:
- No more messy packets.
- Easy to find and grab.
- My son even learned to recognize the labels!
Tip: Don’t spend a lot. I reused old coffee jars and added simple handwritten labels using masking tape.
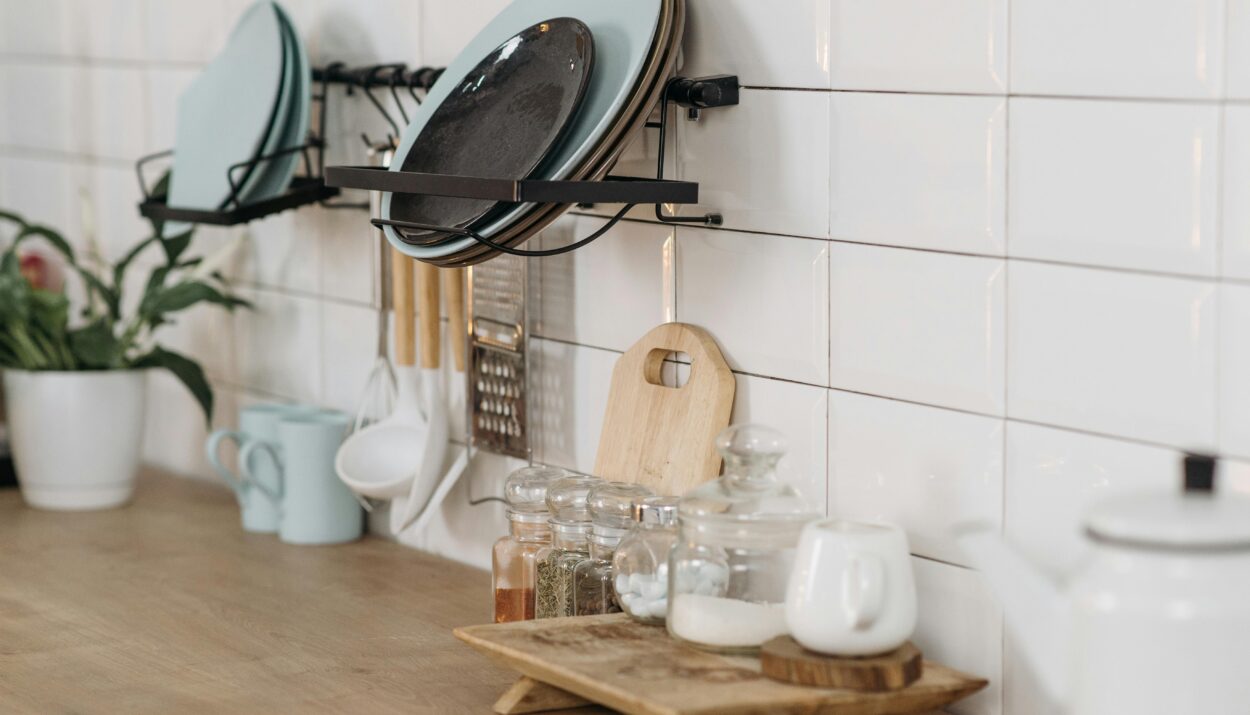
3. Maximize Vertical and Hidden Spaces
When counter space is limited, walls, cabinets, and corners become your best friends.
Here’s what I did:
- Installed wall-mounted racks for spices and utensils.
- Added hooks under shelves to hang mugs and pans.
- Put small baskets on top of cabinets to store extras like paper towels and napkins.
- Hung a mesh rack inside a cabinet door to hold foil, cling wrap, and zip bags.
Even my fridge sides are used! I added magnetic holders for scissors, pens, and a small notepad.
Tip: Don’t ignore inside cabinet doors—perfect for hanging measuring cups or lids.
4. Set Up “Kitchen Zones” to Reduce Chaos
Dividing my small kitchen into task zones was a total game-changer. It sounds fancy, but it’s really simple.
My Zones:
- Cooking Zone – Stove, spices, oils, spatulas
- Prep Zone – Chopping board, knives, mixing bowls
- Cleaning Zone – Sink, dish soap, towels, brush
- Snack Zone – Open shelves with kids’ snacks and juice boxes
- Tea & Coffee Corner – Mugs, tea, sugar, electric kettle on a tray
This setup saves time because everything I need is where I need it. No more running around the kitchen in a frenzy!
5. Drawer Dividers = Instant Calm
Before, my drawers were chaotic—spoons tangled with scissors, peelers hiding under ladles. I invested in simple, budget drawer organizers, and it changed everything.
What I sorted:
- One drawer just for cutlery (forks, spoons, butter knives)
- Another for tools (grater, peeler, can opener)
- A third for cloth napkins, wipes, and table mats
DIY Tip: You can even make your own dividers using cardboard wrapped in decorative paper.
6. Store Essentials Within Reach
My everyday items—like plates, rice cooker, tea pot, and water bottles—are stored in the easiest-to-access places. High or deep cabinets are only for the “once-in-a-while” stuff like cake tins or party platters.
I keep my son’s bowl, spoon, and glass in a low drawer. He loves being independent and setting the table “like a big boy” now!
7. Use a Rolling Cart for Flexible Storage
When I needed more space but didn’t want to remodel, I bought a 3-tier rolling cart. Best decision ever.
Right now, mine holds:
- My tea-making items (tray, cups, tea leaves, sugar)
- Baby’s feeding essentials
- Fruits and snacks
I roll it to the dining table during meals, and then tuck it away in a corner. Some days I even use it as a mobile workstation.
8. Set Up a Weekly Meal Prep + Grocery Zone
I have one small shelf where I keep:
- My magnetic weekly planner
- A grocery list pad
- A pen
- My recipe journal
Every Friday night, I plan meals for the upcoming week. This helps me avoid waste, cook smarter, and save money.
Bonus: I can check my pantry and fridge before shopping to avoid buying duplicates.
9. Keep Cleaning Simple and Daily
Instead of doing one deep clean every weekend (which I never have time for), I created a 10-minute daily kitchen reset routine:
My Daily Kitchen Reset (after dinner):
- Wipe all counters
- Sweep the floor
- Wash all dishes or load them in the sink
- Clean the stove with a wet cloth
- Toss out any trash
It sounds small, but doing this every night keeps my kitchen looking good most of the time!
10. Involve Kids in Age-Appropriate Ways
Moms, don’t try to do everything alone. I created small tasks for my son, and he feels like a “kitchen helper” now.
- He puts away spoons
- Fills the water bottles
- Wipes the dining table
- Places napkins for guests
I made it fun for him with a small apron and “reward stickers.” It keeps him busy, helps me out, and teaches responsibility.

Bonus: My Favorite Budget Finds That Helped Organize My Kitchen
- Over-the-sink drying rack – Saves counter space
- Magnetic fridge shelves – Holds spice jars or tea tins
- Stackable baskets – Great for onions, potatoes, garlic
- Under-shelf hanging racks – For dish cloths or mugs
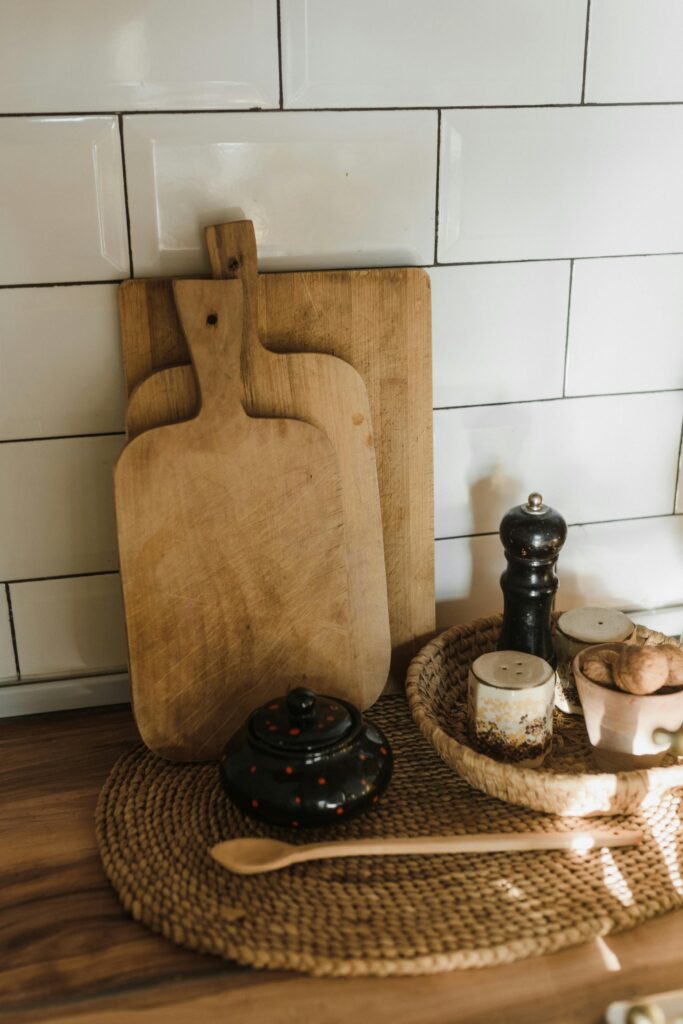
- Old trays – Use them to group oils, sauces, and condiments together
Final Thoughts
You don’t need a fancy or large kitchen to make your life easier as a mom. You just need a plan, a bit of patience, and a few smart tricks.
Whether you’re cooking breakfast with one hand while holding a baby, or prepping dinner after a long day, a well-organized kitchen makes everything smoother.
It took me a while to create a system that works for our small space—and I’m still learning! But I hope these ideas help you feel a little more calm and a lot more in control of your daily kitchen chaos.
Remember:
A tidy kitchen = a calmer mind.
FAQ:
Q1: What’s the best way to start organizing my small kitchen?
A: Start by decluttering. You’ll be surprised how much space you can free up by removing what you don’t use.
Q2: How can I keep my kitchen clean with kids around?
A: I clean as I go, wipe daily, and involve my child in easy tasks like wiping the table and putting away groceries.
Q3: What if I can’t afford expensive organizers?
A: Reuse what you already have—old jars, baskets, trays, and even cardboard dividers work just fine.
Q4: How do you store big appliances like blenders or rice cookers?
A: I keep them in deep drawers or on a low shelf under the counter for easy access but out of sight.
Q5: What’s your #1 organizing secret?
A: Create zones. It brings order to chaos. Every item has a “home,” which means less mess and less stress.