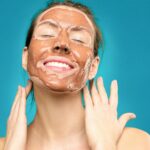


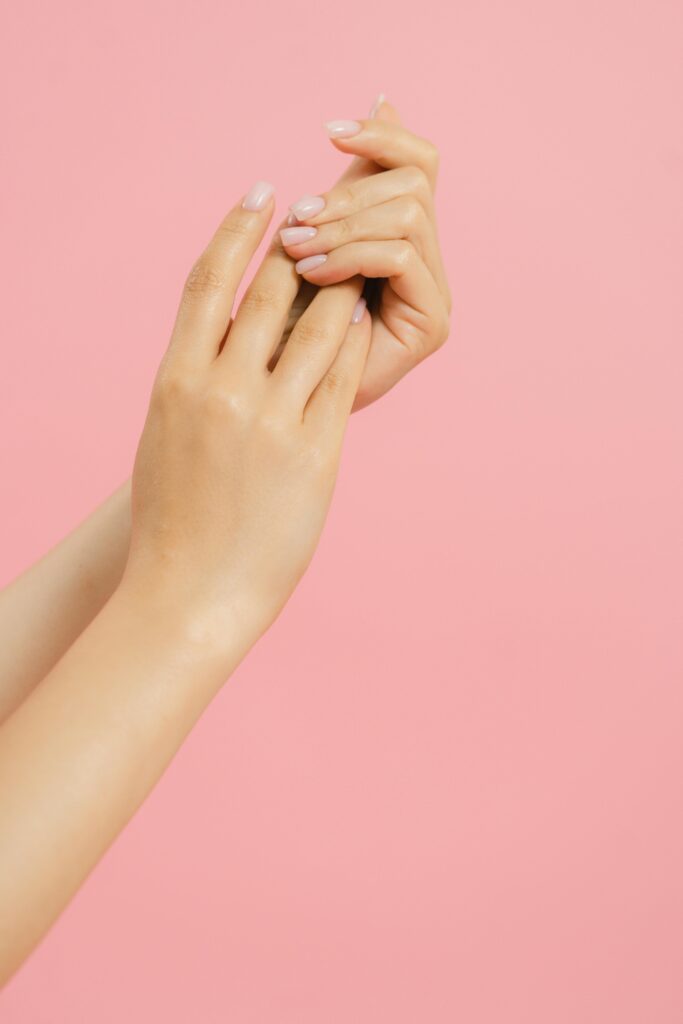
There was a time in my life when I could leisurely stroll into a salon, pick a pretty nail polish, and get my nails done while sipping tea and chatting away. But motherhood changes many things—especially your free time. Between feeding, cleaning, cooking, and endless “Mommy, look at this!”, I realized I hadn’t taken care of my nails in months.
One evening, while scrolling through my phone, I came across a candid photo. There I was, holding my son’s hand, smiling lovingly—but what caught my eye were my nails. They looked tired, dull, and dry. I remember thinking, Is that really me? That was my turning point. I decided I couldn’t keep waiting for time to magically appear so I could visit the salon. I had to find a way to care for myself in my own space and within my limited time.
That night, after I put my son to bed, I walked into the kitchen and gathered a few simple ingredients. I sat down with a bowl of warm water and created my very first DIY at-home manicure. It was simple. It was soothing. And it felt amazing.
Since then, nail care has become my weekly ritual. It’s quick, easy, affordable, and doesn’t need fancy tools or products. Just a little intention and love.
Why I Chose to Do My Nails at Home
Time and convenience are the biggest reasons. As a busy mom, I rarely find the luxury to spend hours at a salon or justify spending money on something I can do at home. I also realized that I didn’t need expensive products. Most of the things my hands and nails truly needed were right in my kitchen.
Over time, this DIY manicure has turned into a moment of self-care. It’s not just about pretty nails—it’s about reminding myself that I deserve a few peaceful moments, even in the middle of chaos. Even when everything else feels out of control, a clean, polished hand makes me feel more like myself.
Tools and Ingredients I Use for My DIY Nail Care Routine
Before I begin, I make sure I have everything gathered in one place. That way, I don’t interrupt the process to search for something.
Tools:
- A bowl of warm water
- Nail cutter
- Nail file/emery board
- Soft toothbrush or small nail brush
- Towel or tissue
- Nail buffer or soft cloth
- Cotton pads
- Optional: wooden cuticle pusher or clean cotton bud
Natural Ingredients:
- Lemon juice
- Olive oil or coconut oil
- Sugar
- Honey
- Milk or yogurt
- Mild shampoo or a pinch of salt
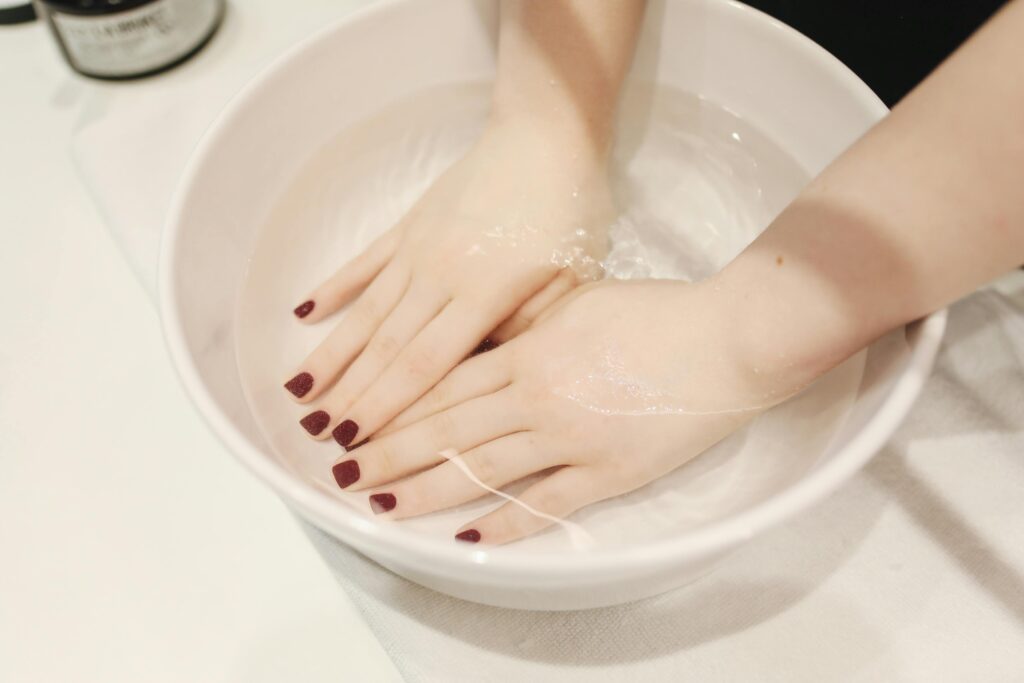
Step 1: The Soak – A Calm Beginning
I usually begin by soaking my hands in warm water. Into the bowl, I squeeze half a lemon and add a few drops of shampoo or a pinch of salt. The lemon helps lighten nail stains, the salt softens the skin, and the shampoo gently cleanses.
I soak my hands for about five minutes. During this time, I close my eyes, take a few deep breaths, and just enjoy the warmth. After soaking, I use a soft toothbrush or nail brush to gently scrub around the nails and under them. This removes dirt and leaves the nail beds clean and fresh.
Step 2: Trimming, Shaping, and Gentle Cuticle Care
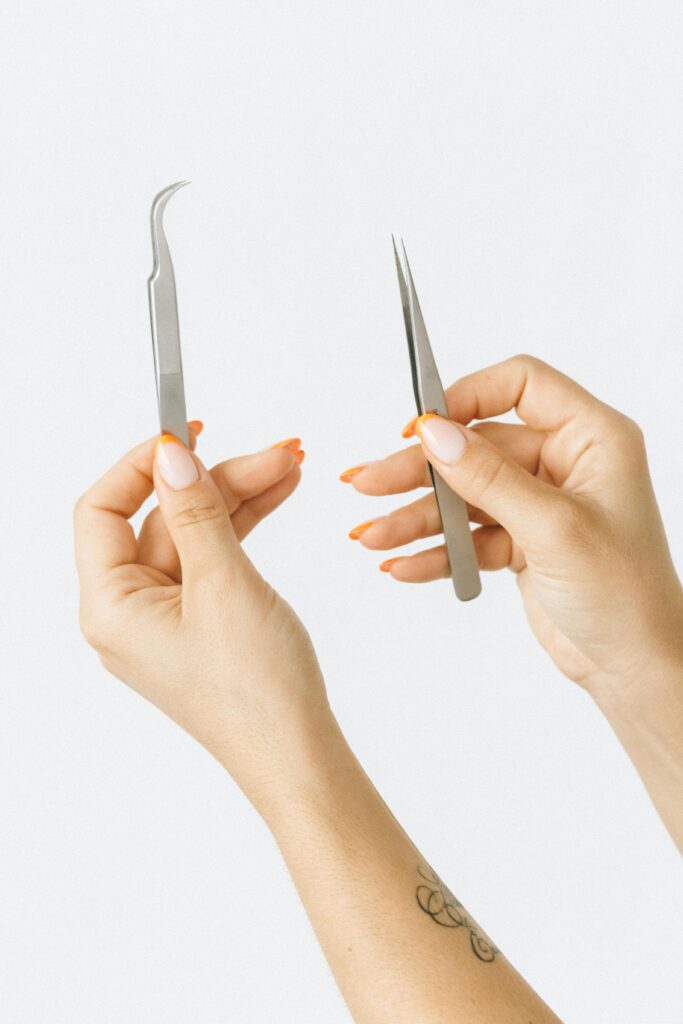
After drying my hands with a towel, I trim my nails if needed and shape them using an emery board. I prefer keeping them short with a rounded shape—practical for all the mom-life tasks I handle every day.
Then, I gently push back my cuticles using the edge of the file or a cotton bud. I don’t cut them unless they’re really overgrown. I’ve found that just softening and pushing them back regularly is enough to keep them looking neat.
Step 3: Homemade Scrub to Exfoliate Hands and Nails
This is one of my favorite parts. The homemade scrub is incredibly effective and gentle. Here’s my go-to recipe:
Ingredients:
- 1 teaspoon sugar
- 1 teaspoon olive oil (or coconut oil)
- A few drops of lemon juice
I mix it in a small bowl and gently massage it onto my hands and around the nails for about two to three minutes. It sloughs off dead skin and brings an instant glow. The sugar exfoliates, the oil nourishes, and the lemon refreshes.
Once done, I rinse with lukewarm water and pat dry.
Step 4: Deep Nourishment with Natural Oils
This step makes the biggest difference for dry nails and rough cuticles. I warm a few drops of olive oil or coconut oil between my palms and massage it into my nails, cuticles, and the backs of my hands.
I take a little time here to really work the oil in, using circular motions. It’s incredibly relaxing and leaves my skin feeling soft and moisturized. If I’m not applying polish that day, I simply leave the oil on and let it soak in.
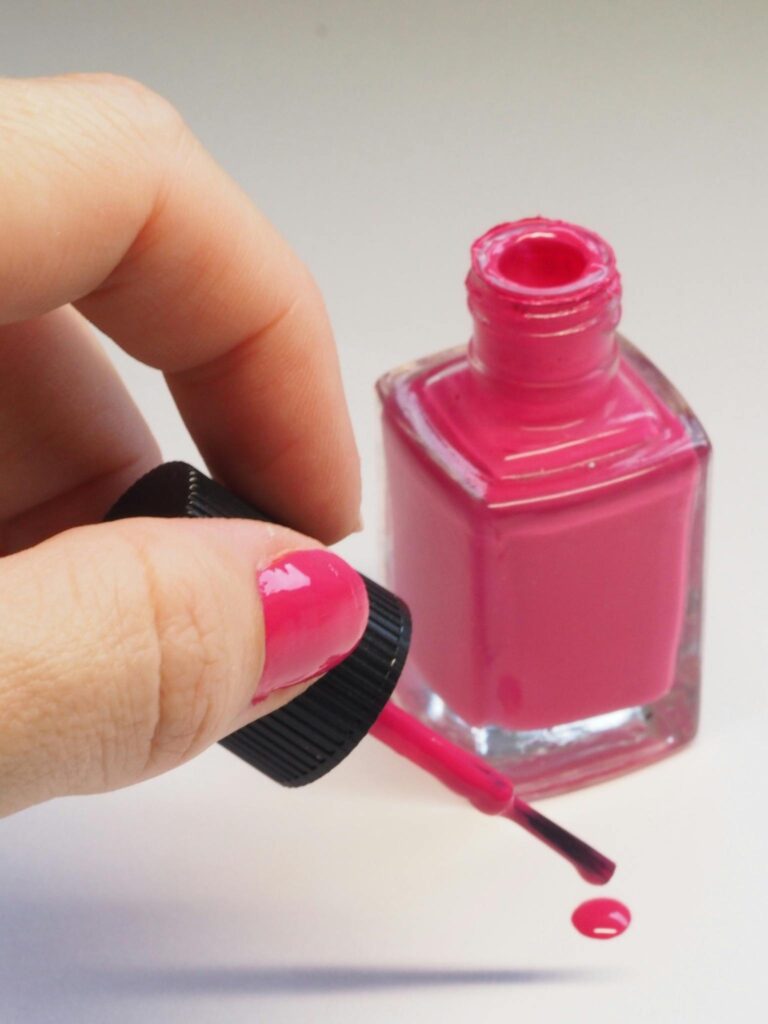
Step 5: Optional Polish for a Polished Look
On days when I have a little extra time or a special reason, I go the extra step and paint my nails. I usually prefer a light nude, pink, or soft peach color. It dries quickly and hides minor chips if it gets scratched while doing chores.
I apply one coat of polish followed by a clear top coat. It helps it last longer and gives a beautiful shine.
But even if I skip this step, my nails already look clean, shiny, and fresh from the oil massage.
Bonus: A Simple Hand Mask for Extra Softness
Occasionally, if my hands feel especially rough or dry (usually after winter or lots of dishwashing), I prepare a simple hand mask.
Hand Mask Recipe:
- 1 teaspoon honey
- 1 teaspoon milk or yogurt
I mix the two and apply it like a mask over my hands, leaving it for ten minutes before rinsing off. It makes my hands soft, smooth, and visibly hydrated.
How Long Does This Whole Routine Take?
From start to finish, this routine takes me around 20 to 25 minutes. If I skip the polish and hand mask, I’m done in under 15 minutes. It’s easy to fit in while my son naps or during quiet moments in the evening.
Frequently Asked Questions – Nail Care at Home for Busy Moms
Q: How often should I do this at-home manicure?
Ideally once a week, but even every two weeks can make a big difference if you’re consistent.
Q: Can I skip lemon juice if I have sensitive skin?
Yes, absolutely. Replace it with a few drops of milk or honey, which are much gentler but still nourishing.
Q: What’s the best oil to use for nail and cuticle care?
Olive oil and coconut oil are both excellent. If you have almond oil or vitamin E capsules, they’re also wonderful options.
Q: How can I make my nails grow faster and stronger naturally?
In addition to oil massages, try including foods rich in biotin, protein, iron, and calcium in your diet. Eggs, nuts, leafy greens, and milk are especially helpful.
Q: Is it okay to apply polish every week?
Yes, but make sure to give your nails a break every now and then. Remove old polish gently, avoid harsh removers with acetone, and always moisturize afterward.
Q: Can I do this routine during pregnancy or while breastfeeding?
Yes, since all ingredients used are natural. If you’re using nail polish, choose one that’s labeled non-toxic or pregnancy-safe.
Q: What if I don’t have a nail buffer?
A soft clean cloth works just fine. Gently rub the nail surface in circular motions to create a natural shine.

Final Thoughts – Because You Deserve It Too
Being a mom means putting others before yourself constantly. But what I’ve learned is that even small acts of self-care can change the way we feel. A simple manicure might seem trivial—but when I take 20 minutes to care for myself, I feel refreshed, beautiful, and more connected to myself.
This routine isn’t about vanity—it’s about visibility. It’s a reminder that I am still here, still worthy of care, still allowed to feel good in my skin.
So if you’re reading this with chipped nails, dry hands, and no time—pause. Set aside a little moment. Gather those simple kitchen ingredients and start your own ritual. You don’t need a salon to feel beautiful. You just need a bowl of warm water and the willingness to give yourself a little love.
You deserve that much—and more.