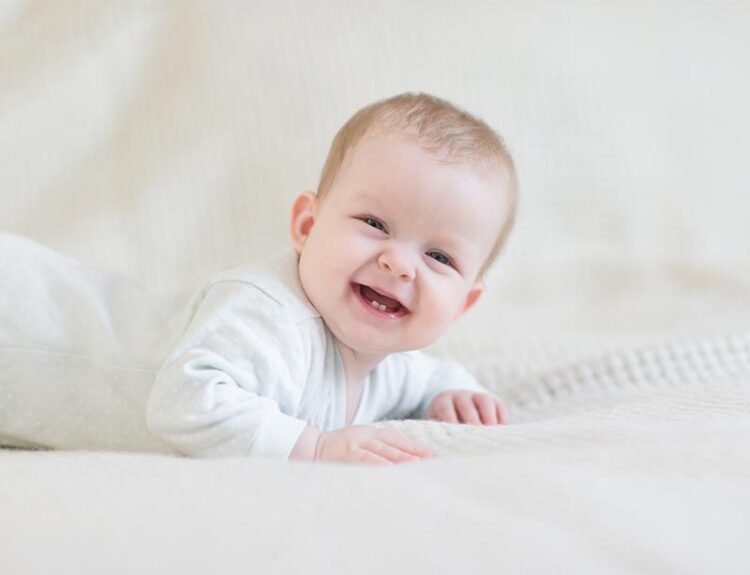

As a mom, creating a safe, fun, and educational space for my child was a top priority. But like many families, I had a tight budget. I didn’t want to spend thousands on fancy furniture or trendy toys. Instead, I decided to get creative, reuse what I had, shop smart, and design a functional playroom that supports learning and imagination. In this post, I’ll walk you through how I set up a beautiful, practical playroom for my child—without breaking the bank.
Whether you’re a stay-at-home mom, working parent, or caregiver, this guide will help you design a playful space that’s affordable, safe, and packed with joy. So, let’s dive into my real-life experience of setting up a playroom on a budget—step by step.
Why a Playroom Matters
A dedicated playroom isn’t just about toys. It’s a safe zone where your child learns social skills, problem-solving, and creativity. It can help keep your house organized and give your child a sense of independence. But most importantly, a playroom encourages learning through play—a crucial part of childhood development.
Step 1: Planning the Space – Function Before Fancy
Before spending any money, I made a list of priorities:
- Safety
- Storage
- Educational toys
- Imaginative play
- Easy-to-clean surfaces
I chose a small, unused corner of our living room and used a lightweight curtain as a divider. You don’t need a separate room—just a defined space where your child feels free to play.
Budget Tip: Repurpose a corner of your bedroom, dining area, or even balcony with soft mats and a small bookshelf.
Step 2: Decluttering and Reusing What I Already Had
One of the biggest mistakes people make is buying too much at once. I started by going through what we already had—books, puzzles, kitchen containers, old baskets, and cardboard boxes. I was surprised by how many items could be reused.
- Old cushions became a reading nook.
- Plastic baskets became toy organizers.
- Cardboard boxes turned into a DIY puppet theatre.
Budget Tip: Save money by transforming old items into functional decor. A little creativity can go a long way.
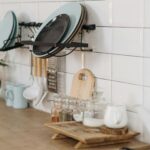
Step 3: Affordable Flooring and Wall Decor
Kids sit, crawl, and play on the floor a lot. I needed something soft, safe, and easy to clean. Instead of expensive carpets, I bought colorful foam mats online at a discounted price.
For wall decor, I printed free alphabet and number posters from Pinterest and framed them with old chart paper.
Budget Breakdown:
- Foam mats: ৳1200
- Wall prints: Free
- Chart paper & tape: ৳150
Budget Tip: Look for local Facebook groups or marketplaces for second-hand or free items like mats, bookshelves, and chairs.
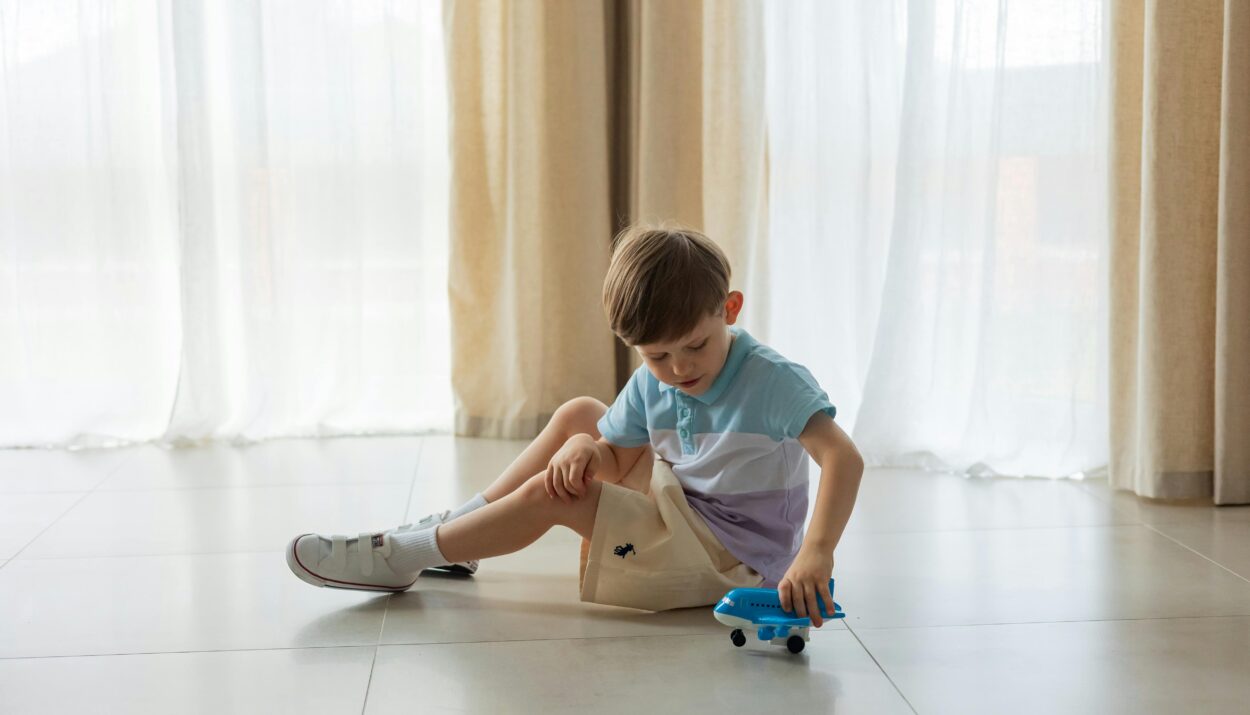
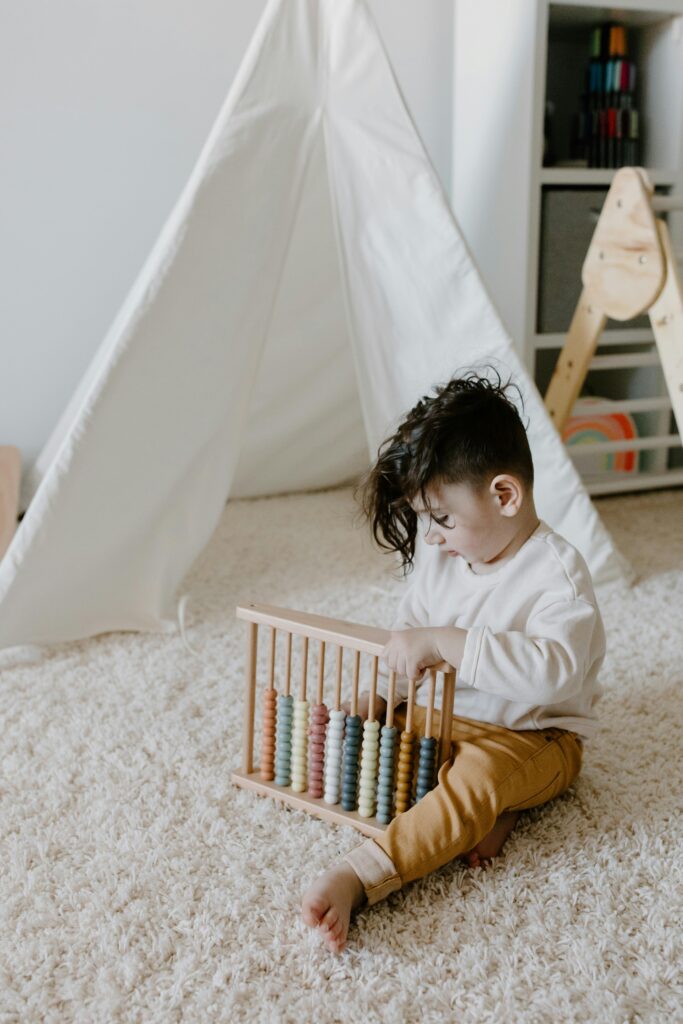
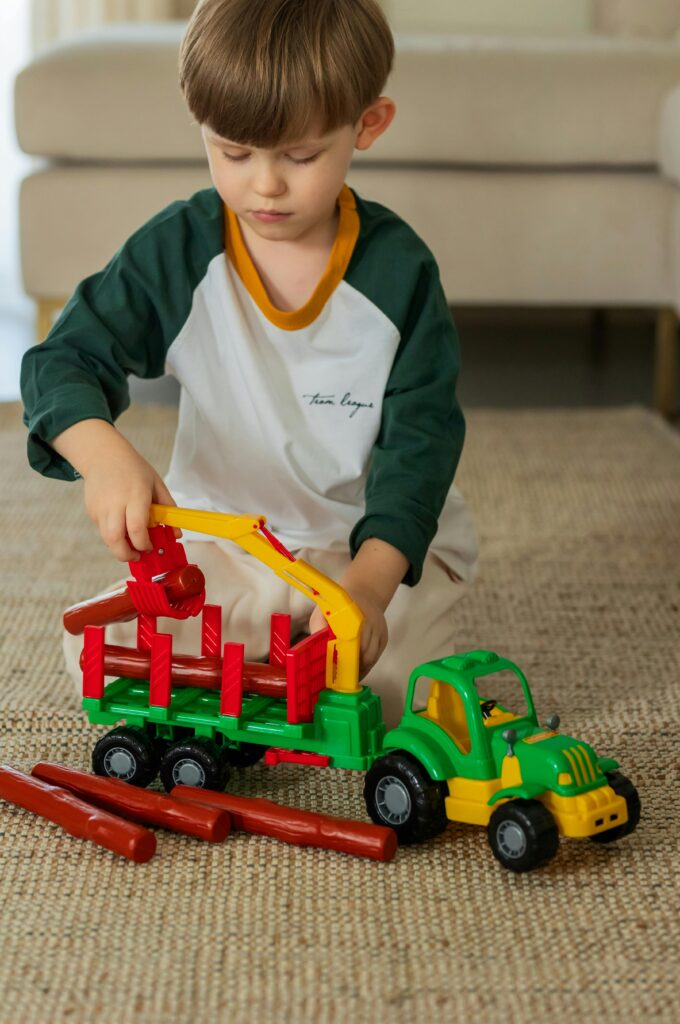
Step 4: Smart Toy Selection (Quality over Quantity)
Instead of filling the room with noisy, plastic toys, I chose toys that:
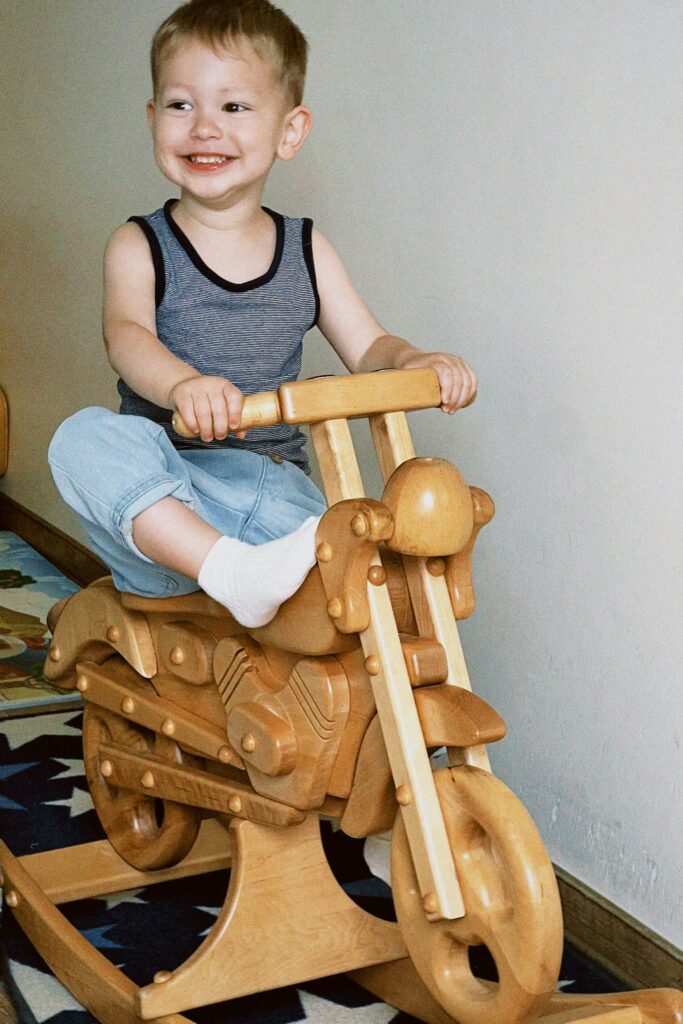
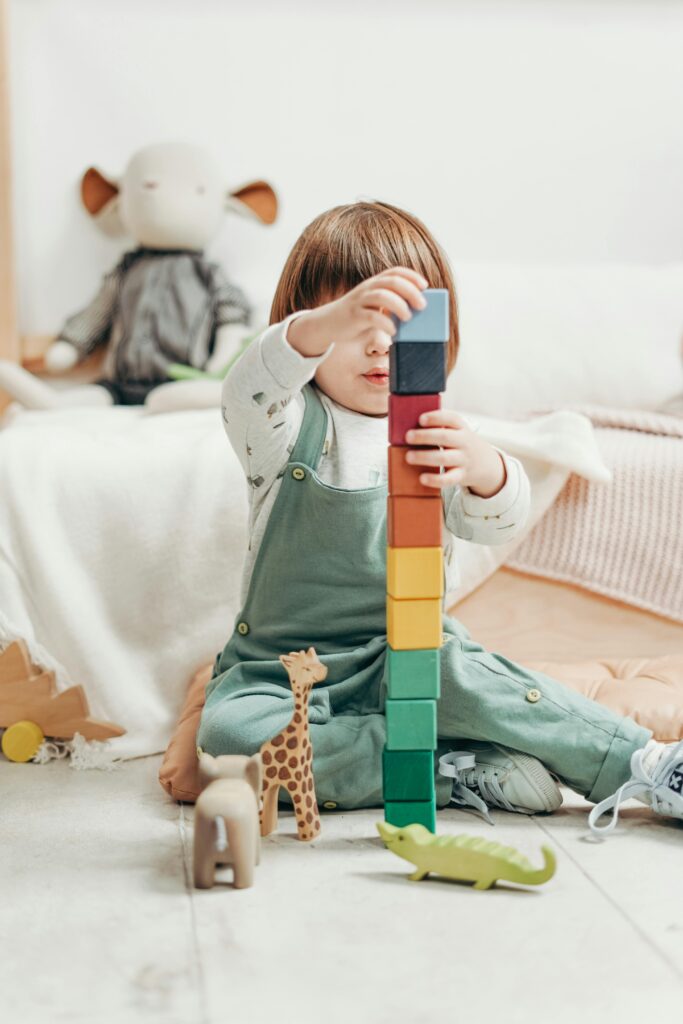
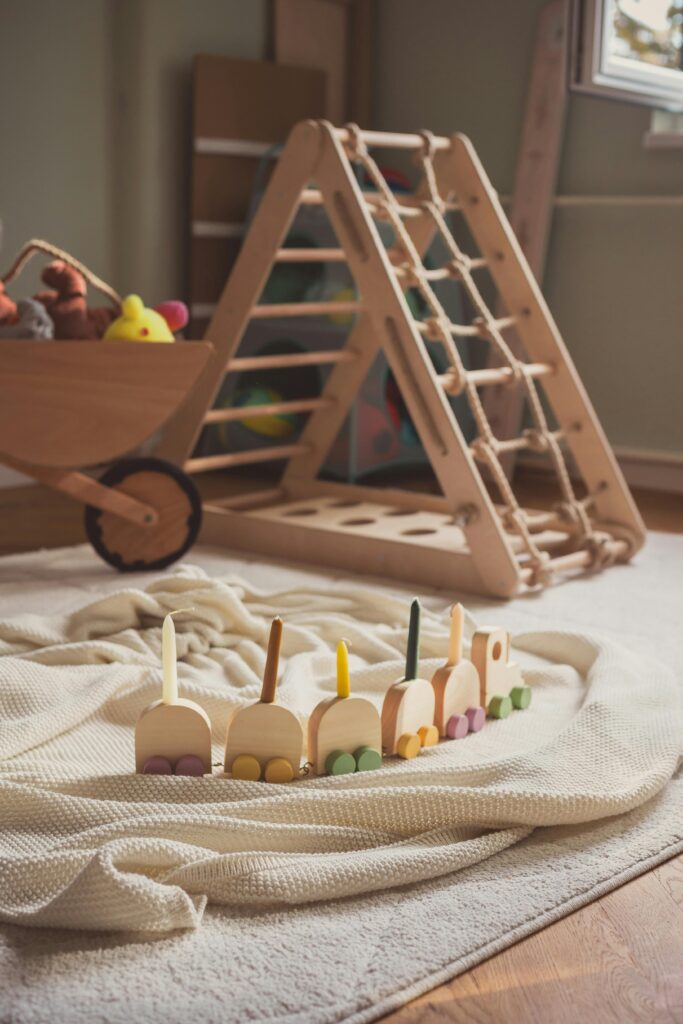
- Encourage open-ended play (building blocks, dolls, wooden kitchen sets)
- Promote learning (puzzles, alphabet flashcards)
- Support motor skills (stacking cups, ride-on toys)
I bought just 5-6 core toys and rotate them weekly so my child doesn’t get bored.
Budget Tip: Use a toy rotation system. This saves money and keeps kids engaged.
Step 5: Storage – Keeping It Tidy Without Expensive Shelves
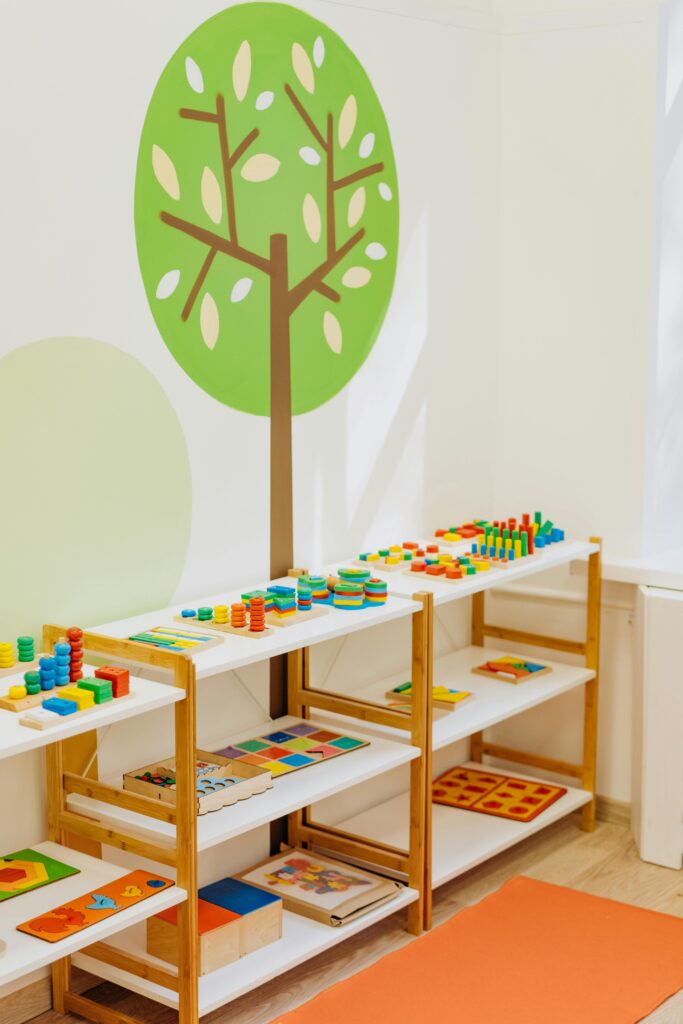
I used open baskets and labeled boxes for toy storage. I also used an old bookshelf to separate toys by type: pretend play, books, art supplies, and puzzles.
Labels with pictures help my child understand where things go, which encourages independence and tidiness.
Budget Tip: Avoid costly toy organizers. Use dollar-store baskets, DIY crates, or cloth bags.

Step 6: DIY Decor – Making It Personal
To make the space feel special, I added a personal touch:
- A “Welcome to My Playroom” sign with my child’s name.
- A growth chart made from ribbon and stickers.
- Paper butterflies and stars hanging from string.
All these were made from craft paper, string, and tape—things I already had at home.
Budget Tip: Involve your child in decorating—it makes them feel connected to the space.
Step 7: Creating Learning Zones
I divided the playroom into small zones:
- Reading Zone: A mat, cushions, and a low bookshelf.
- Art Zone: A table with coloring books, crayons, and stickers.
- Pretend Play Zone: A small kitchen set, stuffed animals, and a doctor kit.
This setup not only helped me stay organized but also kept my child’s activities purposeful.
Budget Tip: Use rugs or color-coded baskets to define different zones instead of furniture.
Step 8: Lighting and Airflow
I didn’t install expensive lights or air conditioners. Instead:
- I used natural daylight.
- I placed a small fan to keep the air moving.
- I added a string of fairy lights for a cozy vibe at night.
Budget Tip: Keep it simple. Children thrive in bright, open spaces. You don’t need fancy lighting.
Step 9: Safety Checks
Safety was my biggest concern. I made sure:
- No sharp corners.
- No tiny parts that can be swallowed.
- All electric outlets were covered.
- Toys were non-toxic and BPA-free.
Budget Tip: DIY corner guards can be made from pool noodles or thick foam.
What I Learned from This Experience
A child doesn’t need expensive toys—they need your time and a safe, joyful space.
Less is more: A clutter-free playroom promotes better focus.
Involvement matters: When children help set up their playroom, they feel more responsible for it.
Creativity is your superpower—you can transform a small budget into a magical space.
Bonus Tips for Other Parents
- Use social media groups for giveaways or swaps.
- Buy in phases—you don’t need everything at once.
- Make cleanup a game—it helps teach responsibility.
- Change it up—rotate toys or move zones every few months.
- Take advantage of digital resources—printables, free audiobooks, and storytime apps.
Frequently Asked Questions (FAQ)
1. Can I set up a playroom in a small apartment?
Yes! Use corners, under-bed space, or even balconies. You only need a safe, organized area with a few key items.
2. What are the best budget-friendly toys for toddlers?
Building blocks, pretend play sets, flashcards, puzzles, and coloring supplies are all affordable and developmentally helpful.
3. How do I keep the playroom organized?
Use labeled boxes or baskets. Rotate toys every week to avoid mess and keep interest high.
4. What should I avoid when setting up a playroom?
Avoid overcrowding, small choking hazards, and toys with too many lights or sounds that overstimulate.
5. How often should I change the toys or layout?
Every 2-4 weeks is ideal. Simple changes keep the space fresh and exciting.
6. Can I use second-hand toys and furniture?
Absolutely! Just make sure they are safe, clean, and age-appropriate.
Final Thoughts
Setting up a playroom on a budget doesn’t mean compromising on fun, creativity, or learning. With a little planning, some DIY magic, and thoughtful purchases, you can build a space that supports your child’s development and sparks joy every day.
My playroom journey was filled with trial, error, and joy—but most importantly, it reminded me that love, not money, creates the best memories. If I can do it, you can too!